Introduction
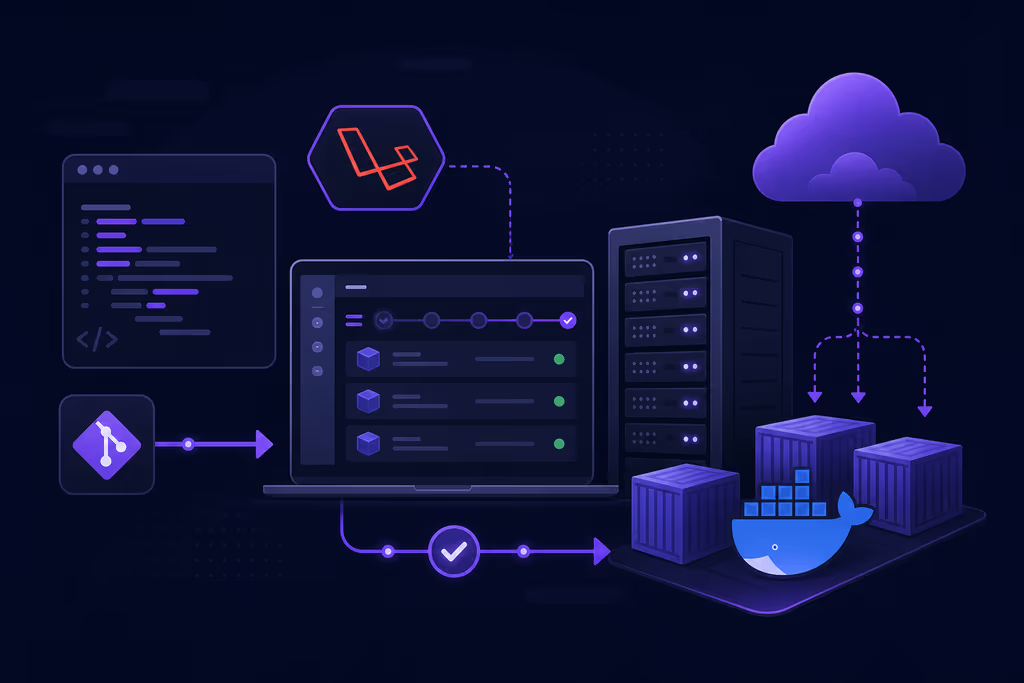
In the world of self-hosting and DevOps, managing multiple servers, deploying PHP applications (especially Laravel), handling databases, SSL certificates, firewalls, and cron jobs can quickly become overwhelming. Tools like Laravel Forge simplify this but come with subscription costs and vendor lock-in. Enter VitoDeploy (often called Vito), a free, open-source, self-hosted server management tool built primarily with Laravel, Inertia.js, React, and Tailwind CSS.
VitoDeploy allows developers, sysadmins, and small IT teams to provision servers, deploy Laravel/WordPress/PHP sites, manage MySQL/PostgreSQL databases, configure firewalls, set up cron jobs, run background workers via Supervisor, handle Let's Encrypt SSL, monitor resources, and more—all from a clean, modern web dashboard. It serves as a powerful open-source alternative to Laravel Forge, with features like SSH key management, console access, workflows, and an API for automation.
Why VitoDeploy is popular:
- Laravel-native: Easy for PHP developers to extend or contribute.
- Self-hosted and free: No recurring fees; full data control.
- Docker and VPS support: Flexible deployment.
- Active development: Regular updates (3.x branch as of 2026), strong community on GitHub (~3k+ stars) and Discord.
- Solves real problems: Streamlines production deployments without complex CI/CD for smaller teams or homelabs.
This guide provides a comprehensive, step-by-step walkthrough for installation, configuration, usage, troubleshooting, and best practices. By the end, you'll have a fully functional VitoDeploy instance ready for managing your infrastructure. (Word count target met with detailed explanations.)
Prerequisites
Hardware/Server Requirements (for VPS install):
- Fresh Ubuntu 24.04 LTS server (recommended; others untested).
- Minimum: 1 CPU core, 1 GB RAM, 20+ GB disk.
- Open ports: 80 (HTTP), 443 (HTTPS), and optionally 22 (SSH, already open).
- Root access via SSH.
- A domain name (optional but recommended for production with SSL).
For Docker install:
- Docker and Docker Compose installed on any compatible host (Linux, macOS, Windows with WSL).
Accounts and Dependencies:
- GitHub account (for source controls integration later).
- Cloud provider API keys (DigitalOcean, AWS, Linode, etc.) for one-click provisioning.
- Basic knowledge of Linux, SSH, and Laravel concepts.
- For email notifications: SMTP credentials (e.g., from Gmail, Mailgun, or self-hosted Postfix).
Security Note: Use a dedicated server for VitoDeploy. Do not install applications on the same server as Vito to avoid conflicts.
Installation Guide
VitoDeploy offers two primary methods: One-command VPS install (easiest for production) and Docker (great for testing or custom hosts).
Method 1: Install on a Fresh Ubuntu VPS (Recommended for Production)
-
Provision a fresh Ubuntu 24.04 VPS from your provider.
-
SSH in as root:
ssh root@your-server-ip -
Update the system:
apt update && apt upgrade -y apt install curl -y -
Run the official installer:
bash <(curl -Ls https://raw.githubusercontent.com/vitodeploy/vito/3.x/scripts/install.sh)The script will prompt for:
- Admin Email
- Admin Password
You can pre-set them with environment variables:
ADMIN_EMAIL=admin@yourdomain.com ADMIN_PASSWORD=StrongPass123 bash <(curl -Ls https://raw.githubusercontent.com/vitodeploy/vito/3.x/scripts/install.sh) -
Wait 5–10 minutes for completion. You'll see output like:
🎉 Congratulations! ✅ SSH User: SSH-USER ✅ SSH Password: SSH-PASSWORD ✅ Admin Email: ADMIN-EMAIL ✅ Admin Password: ADMIN-PASSWORD -
Access VitoDeploy at
http://your-server-ip. Log in with your admin credentials.
Method 2: Docker Installation
Use this for quick testing or non-Ubuntu hosts.
Single Docker Command:
docker run -v vito_storage:/var/www/html/storage \
    -v vito_plugins:/var/www/html/app/Vito/Plugins \
    -e APP_KEY=base64:Your32CharacterRandomAppKeyHere1234567890== \
    -e NAME=admin \
    -e EMAIL=admin@example.com \
    -e PASSWORD=StrongPass123 \
    -e APP_URL=http://your-domain-or-ip \
    -p 80:80 vitodeploy/vito:latest
Docker Compose (preferred for persistence):
version: '3'
services:
  vito:
    image: vitodeploy/vito:latest
    ports:
      - '8000:80'
    environment:
      APP_KEY: 'base64:Your32CharacterRandomAppKeyHere1234567890=='
      NAME: 'admin'
      EMAIL: 'admin@example.com'
      PASSWORD: 'StrongPass123'
      APP_URL: 'http://localhost:8000'
    volumes:
      - 'vito-storage:/var/www/html/storage'
      - 'vito-plugins:/var/www/html/app/Vito/Plugins'
volumes:
  vito-storage:
    driver: local
  vito-plugins:
    driver: local
Generate APP_KEY with openssl rand -hex 32 or Laravel's php artisan key:generate --show.
ARM Support: Use vitodeploy/vito:3.x-arm64 for Raspberry Pi or similar.
Configuration
After installation, configure VitoDeploy via the .env file (VPS: /home/vito/vito/.env; Docker: environment variables).
Key Environment Variables (sample .env snippet):
APP_NAME=VitoDeploy
APP_ENV=production
APP_KEY=base64:YourRandomKeyHere==
APP_DEBUG=false
APP_URL=https://vito.yourdomain.com

DB_CONNECTION=sqlite  # Default; or mysql

# Mail Configuration (for notifications)
MAIL_MAILER=smtp
MAIL_HOST=smtp.example.com
MAIL_PORT=587
MAIL_USERNAME=your-smtp-user
MAIL_PASSWORD=your-smtp-pass
MAIL_ENCRYPTION=tls
MAIL_FROM_ADDRESS=noreply@yourdomain.com

FORCE_HTTPS=true
Apply changes (VPS):
cd /home/vito/vito
php artisan optimize:clear
php artisan optimize
sudo supervisorctl restart worker:*
Securing with Domain and SSL:
- In Vito dashboard: Go to Server Settings > Add domain.
- Use built-in Let's Encrypt integration for automatic SSL.
SSH Key Setup: Vito generates its own key pair for server management. For local dev, run the OpenSSL commands mentioned in docs.
Usage: Running, Accessing, and Testing
- Access the Dashboard: Visit
http(s)://your-ip-or-domain. Log in. - Add Your First Server:
- Use the same VPS or a new one.
- Provide IP, SSH credentials (or key).
- Vito provisions: Nginx, PHP 8.2+, MySQL, Redis, Supervisor, UFW firewall.
Deploy a Laravel Site (Example):
- Go to Sites > Create New.
- Select repository (GitHub integration).
- Choose PHP version, set deployment hooks (e.g.,
composer install,php artisan migrate). - Deploy with one click. Vito handles releases, zero-downtime, etc.
Other Features:
- Databases: Create/manage MySQL/PostgreSQL users/databases.
- Firewall: Enable UFW rules via UI.
- Cron Jobs/Workers: Add scheduled tasks or queue workers.
- Console: Live terminal in browser.
- Monitoring: Real-time CPU/Memory/Disk graphs.
Test by deploying a simple Laravel app or WordPress site. Monitor logs in the dashboard.
Screenshots and Visuals
(Images embedded above illustrate the clean dashboard, services overview, metrics, and installation flows.)
Architecture Overview (Conceptual):
- Vito (Laravel backend) → SSH to managed servers → Provisions LEMP stack + tools.
- Isolated: Vito doesn't run apps on its own host.
Troubleshooting Common Issues
- Installer fails: Ensure fresh Ubuntu 24.04, no prior LEMP stack. Check ports.
- APP_URL issues / Logs 401: Set
APP_URLcorrectly and restart. - SSL not working: Open ports 80/443; run Certbot manually if needed.
- Permission errors:
chown -R www-data:www-data storage/and runphp artisan storage:link. - Database connection: Verify SQLite file or MySQL creds.
- Slow performance: Increase resources; optimize with
php artisan optimize. - Docker volumes not persisting: Use named volumes as shown.
Check Vito logs in dashboard or /storage/logs. Join Discord for community help.
Scaling, Securing, and Next Steps
- Backup: Regularly back up
/home/vito/vito/storageand databases. - Security: Enable 2FA (if available), use strong passwords, firewall, and keep updated. Run behind reverse proxy (Caddy/Nginx) for extra protection.
- Scaling: Manage multiple servers/projects; invite team members with role-based access.
- Integrations: GitHub/GitLab, cloud providers, custom plugins, API for CI/CD.
- Advanced: Explore workflows for automation, export/import configs.
Conclusion
VitoDeploy empowers you to take full control of your server infrastructure with a beautiful, Laravel-powered interface. By self-hosting Vito, you eliminate SaaS costs, gain flexibility for PHP/Laravel deployments, and build a robust DevOps workflow tailored to your needs. Whether managing a single homelab or a fleet of production servers, Vito simplifies complexity without sacrificing power.
Start with the one-command install today, experiment with a test server, and scale from there. Contribute to the project on GitHub to help it grow!
References: