Caption: Penpot self-hosted design and prototyping workspace.
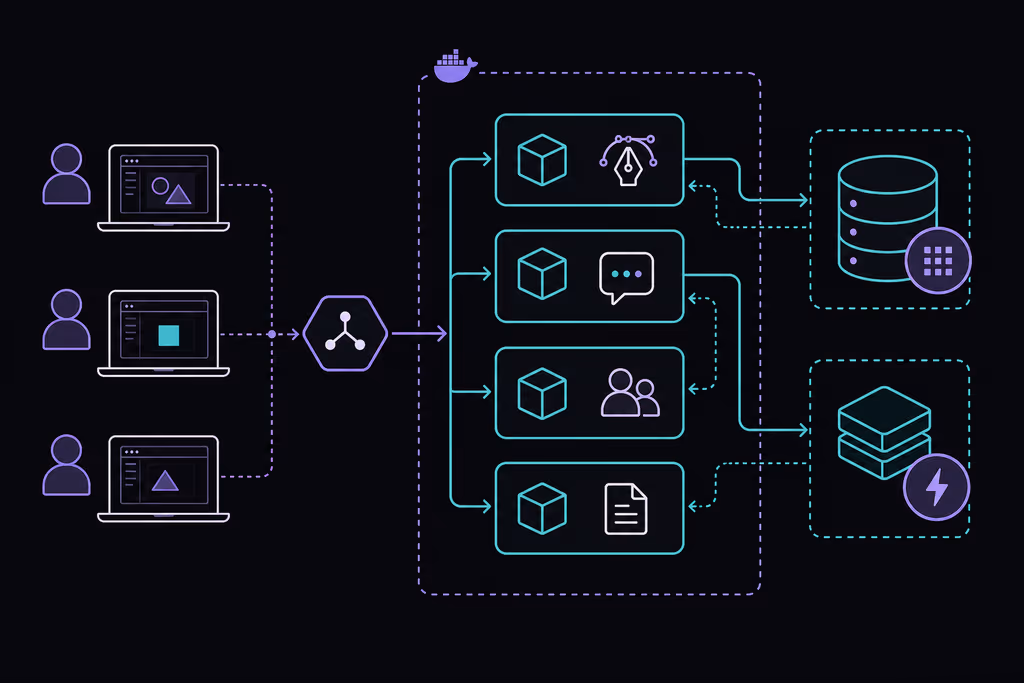
Caption: Self-hosted Penpot stack with Docker, PostgreSQL, Redis, and a reverse proxy for HTTPS.
Introduction
Penpot is an open-source design and prototyping platform built for product teams, agencies, and developers who want a Figma-class workflow without vendor lock-in. It runs in the browser, supports real-time collaboration, uses open web standards (especially SVG), and integrates design tokens and developer handoff into the same workspace.
Self-hosting Penpot gives you full control over project files, user accounts, and infrastructure costs. That matters for client work under NDAs, internal design systems, and teams that must keep creative assets inside their own network boundary. The official deployment path is Docker Compose, which bundles Penpot with PostgreSQL, Redis, and optional object storage for media assets.
This guide walks through installing Penpot on a fresh Ubuntu 24.04 LTS VPS using the official Compose files, configuring HTTPS, creating your first team and project, and applying production hardening. By the end, you will have a private design workspace your team can use daily.
Why Choose Penpot?
- Open Source (MPL 2.0): Inspect, fork, and run the platform on your own terms.
- Real-Time Collaboration: Multiple designers can work in the same file with live cursors and shared boards.
- SVG-Native Workflow: Designs stay closer to web standards, which helps developer handoff.
- Design Tokens & Components: Reusable libraries reduce drift between design and implementation.
- Self-Hosted Privacy: Project files and user data remain on infrastructure you control.
- Docker-First: Official images and Compose templates simplify repeatable deployments.
Penpot fits design-led dev teams, Laravel/Vue agencies, and privacy-conscious organizations that outgrew desktop-only tools but do not want a proprietary SaaS bill for every seat.
Prerequisites
Hardware Recommendations:
- 2+ CPU cores (4 recommended for concurrent editors)
- 4 GB RAM minimum (8 GB recommended for teams)
- 30 GB free disk space (more for large asset libraries)
- Ubuntu 24.04 LTS with sudo access
Software & Accounts:
- Docker Engine 24+ and Docker Compose plugin
- A domain name (e.g.
penpot.example.com) - DNS
Arecord pointing to your VPS - SMTP credentials (optional but recommended for invites and password reset)
Security Notes:
- Use SSH keys; disable password login on production servers.
- Terminate TLS at a reverse proxy before inviting users.
- Disable open registration after creating admin accounts.
- Back up PostgreSQL and Penpot asset volumes before upgrades.
Update the host and install Docker:
sudo apt update && sudo apt upgrade -y
sudo apt install -y ca-certificates curl git ufw
curl -fsSL https://get.docker.com | sudo sh
sudo usermod -aG docker "$USER"
newgrp docker
Configure firewall:
sudo ufw allow OpenSSH
sudo ufw allow 80/tcp
sudo ufw allow 443/tcp
sudo ufw enable
Installation Guide
Penpot publishes maintained Compose files in its GitHub repository. We use the official stack rather than ad-hoc containers.
1. Download the Official Compose Stack
sudo mkdir -p /opt/penpot
sudo chown "$USER":"$USER" /opt/penpot
cd /opt/penpot
curl -LO https://raw.githubusercontent.com/penpot/penpot/main/docker/images/docker-compose.yaml
curl -LO https://raw.githubusercontent.com/penpot/penpot/main/docker/images/env.sample
cp env.sample .env
2. Configure Environment Variables
Edit .env with your public URL and mail settings:
PENPOT_PUBLIC_URI=https://penpot.example.com

# Example SMTP (adjust for your provider)
PENPOT_SMTP_ENABLED=true
PENPOT_SMTP_DEFAULT_FROM=noreply@example.com
PENPOT_SMTP_DEFAULT_REPLY_TO=support@example.com
PENPOT_SMTP_HOST=smtp.example.com
PENPOT_SMTP_PORT=587
PENPOT_SMTP_USERNAME=your-user
PENPOT_SMTP_PASSWORD=your-password
PENPOT_SMTP_TLS=true
PENPOT_SMTP_SSL=false

# Feature flags (adjust after first login)
PENPOT_FLAGS=enable-registration enable-login-with-password enable-smtp
Set PENPOT_PUBLIC_URI to the exact HTTPS URL users will open in the browser. Mismatch here causes broken links and websocket failures.
3. Start Penpot
cd /opt/penpot
docker compose pull
docker compose up -d
docker compose ps
Default services include Penpot frontend/backend, PostgreSQL, Redis, and an exporter helper. First startup may take a few minutes while databases initialize.
4. Put HTTPS in Front with Caddy
Install Caddy and proxy to Penpot (Compose exposes the app on localhost port 9001 by default in the official file — verify with docker compose port penpot-frontend 80 if your file differs):
sudo apt install -y debian-keyring debian-archive-keyring apt-transport-https curl
curl -1sLf 'https://dl.cloudsmith.io/public/caddy/stable/gpg.key' | sudo gpg --dearmor -o /usr/share/keyrings/caddy-stable-archive-keyring.gpg
curl -1sLf 'https://dl.cloudsmith.io/public/caddy/stable/debian.deb.txt' | sudo tee /etc/apt/sources.list.d/caddy-stable.list
sudo apt update && sudo apt install -y caddy
Example /etc/caddy/Caddyfile site block:
penpot.example.com {
    reverse_proxy localhost:9001
}
Reload Caddy:
sudo systemctl reload caddy
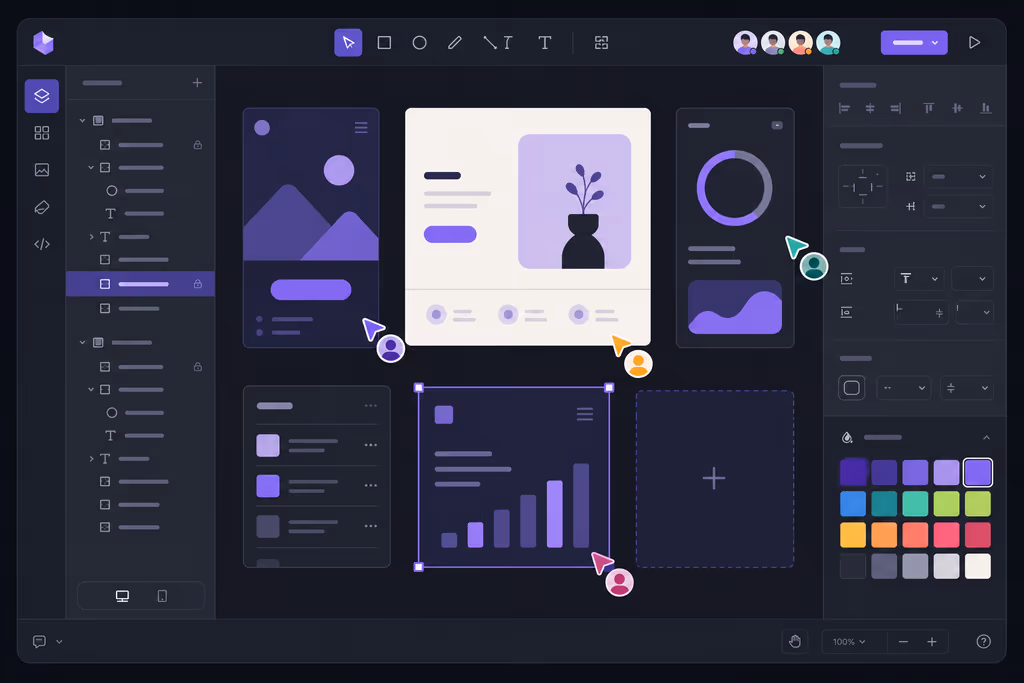
Caption: Penpot workspace concept — artboards, layers, and real-time collaboration in the browser.
Configuration
First Admin Account
- Visit
https://penpot.example.com. - Register the first user (becomes instance owner on fresh installs).
- Create a team and invite collaborators via email if SMTP is configured.
Lock Down Registration
After onboarding your team, remove public registration in .env:
PENPOT_FLAGS=enable-login-with-password enable-smtp disable-registration
Apply changes:
cd /opt/penpot
docker compose up -d
Backups
Back up Compose volumes and .env:
docker compose down
sudo tar -czf penpot-backup-$(date +%F).tar.gz /opt/penpot/.env /var/lib/docker/volumes
docker compose up -d
Document volume names with docker volume ls | grep penpot on your server — paths vary slightly by Compose project name.
Updates
cd /opt/penpot
docker compose pull
docker compose up -d
Read Penpot release notes before upgrading production instances.
Usage
Getting started checklist:
- Log in and create a Team for your organization or client.
- Create a Project and add a File (design board).
- Build frames, components, and color styles; share the file link with teammates.
- Use Inspect mode to copy CSS/SVG snippets for developers.
- Export assets (PNG/SVG) for marketing or app implementation.
Collaboration tips:
- Assign file permissions per team role.
- Use shared libraries for buttons, forms, and typography tokens.
- Prototype flows with interactions before handoff to Laravel/Vue builds.
Troubleshooting
Common Issues & Fixes:
- Blank page or websocket errors: Verify
PENPOT_PUBLIC_URImatches your HTTPS domain exactly (scheme + host, no trailing slash issues). - 502 from reverse proxy: Confirm Penpot containers are healthy (
docker compose logs -f) and proxy port matches Compose exposure. - Email not sending: Test SMTP credentials separately; ensure
enable-smtpis inPENPOT_FLAGS. - Slow performance: Allocate more RAM; store assets on fast SSD volumes.
- Cannot register after disable-registration: Create users via CLI/admin flows documented in Penpot help, or temporarily re-enable registration.
- Upgrade failures: Stop stack, backup volumes, pull images, run
docker compose up -d, check logs.
Scaling, Securing, and Next Steps
- Separate object storage: For large teams, configure S3-compatible storage for media (see Penpot admin docs).
- SSO: Evaluate Penpot enterprise/SSO options if you need OIDC/SAML at scale.
- Monitoring: Add Uptime Kuma or similar to watch
/api/healthendpoints. - Off-site backups: Sync volume archives to another region or provider.
- Design ops: Connect Penpot libraries to your Tailwind/Laravel component system for faster shipping.
References
- Official Site: https://penpot.app/
- GitHub: https://github.com/penpot/penpot
- Self-Hosting Docs: https://help.penpot.app/technical-guide/getting-started/docker/
- Docker Compose File: https://github.com/penpot/penpot/tree/develop/docker/images
Conclusion
Following this guide, you deploy a private Penpot instance your team owns end to end — from Docker infrastructure to HTTPS and day-to-day design workflows. You gain collaborative UI design without sending client mockups through a third-party SaaS.
Next steps: invite your team, build a shared component library, link Penpot tokens to your nzian.xyz frontend stack, and schedule regular backups before your first production upgrade cycle.